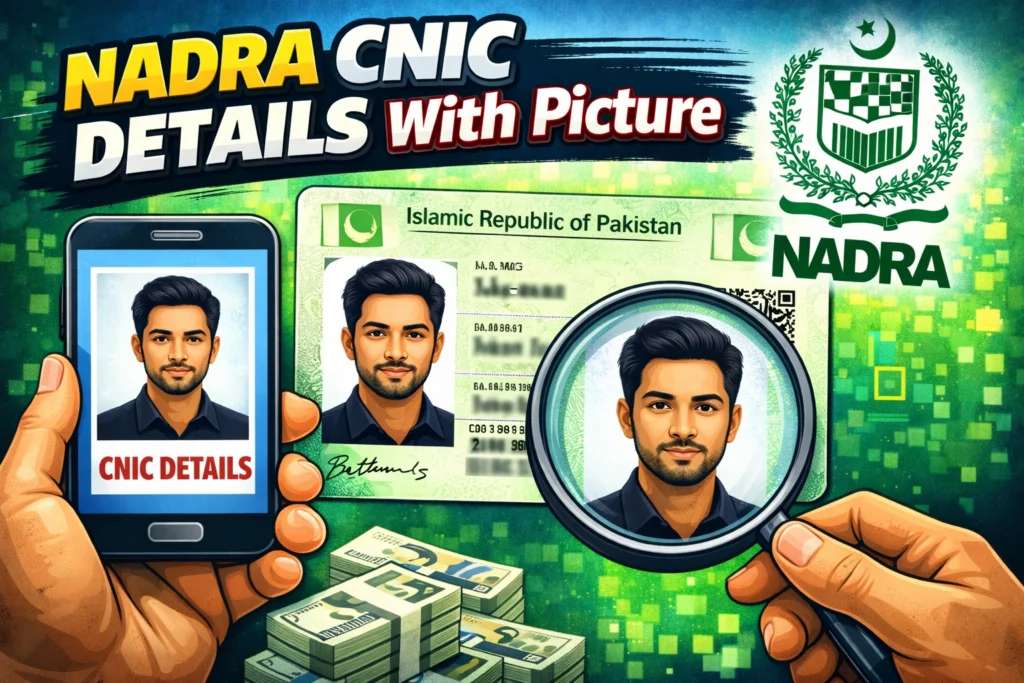
We’ve all been there staring at an old ID card photo that looks less like us and more like a startled deer in headlights. For years, fixing a bad photo on your Computerized National Identity Card (CNIC) meant taking a day off work, standing in long queues at a NADRA registration center, and hoping the new picture turned out better than the last one.
Fortunately, the National Database and Registration Authority (NADRA) has revolutionized this process. With the launch of digital services through the Pak Identity mobile application and online portal, Pakistani citizens can now update their identity documents from the comfort of their living rooms. This digital shift is a massive win for convenience, allowing you to bypass the hassle of physical visits entirely.
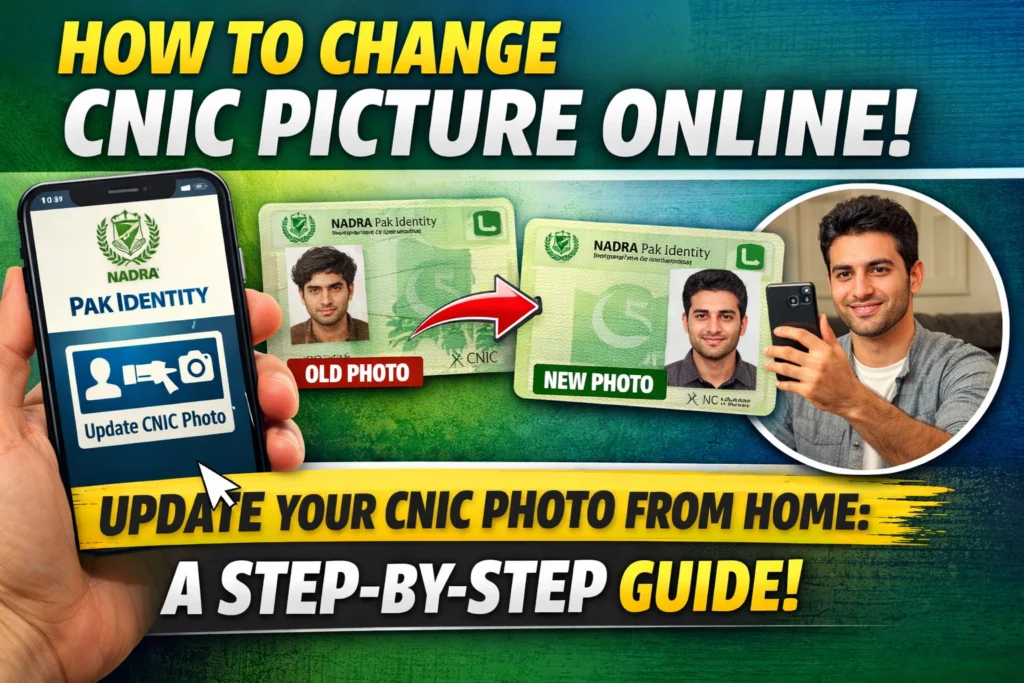
Whether your appearance has changed significantly, your old photo is damaged, or you simply want a picture that doesn’t make you cringe, the power to change it is now in your hands. This guide walks you through the entire process of updating your CNIC picture online, ensuring your application is accepted on the first try.
Step 1: Access the NADRA Online Portal
The first step to refreshing your identification starts with accessing the right platform. You have two convenient options: the web-based portal or the mobile application.
For desktop users, open your browser and visit the official NADRA Online Portal. However, for the smoothest experience especially regarding biometric verification and photo uploading we recommend using the Pak Identity app. It is readily available for download on both the Apple App Store and Google Play Store. The app is specifically designed to handle camera permissions and document scanning more intuitively than a desktop webcam.
Step 2: Log In or Create an Account
Once you have the app installed or the website open, you need to establish your identity within the system.
- Existing Users: If you have used NADRA’s online services before, simply log in using your existing credentials.
- New Users: You will need to register. Click “Create Account” and provide your email address, mobile number, and your current CNIC or NICOP number. You will also need to set a secure password.
Verification is a crucial part of this step. You will receive a code via SMS or email to verify your contact details. If you are using the app version, you may also be asked to complete a quick biometric verification (facial recognition or fingerprint scan) to secure your account.
Step 3: Start a New Application
Once you log in, navigate to the dashboard and select “Apply Now” or “Modify ID Card / Renew Card.”
When prompted for the reason for your application, select “Update Photo” (or the equivalent option presented). This selection signals to the system that you specifically want to replace your existing image, rather than just changing an address or marital status.
Step 4: Upload Your New Photo
This is the most critical part of the process. NADRA has strict standards for identification photos, and failing to meet them is the most common reason for application rejection.
To ensure success, follow these specific guidelines when capturing your new photo through the app:
| Requirement | Details |
|---|---|
| Background | Plain white or light blue background. |
| Face | Fully visible, no major shadows, neutral expression. |
| Headwear | Only allowed for religious reasons; face must remain visible. |
| File Size | Up to 5 MB, JPEG format (if uploading manually). |
| Clarity | Sharp focus, no blur, no filters. |
Tips for a perfect shot:
- Lighting: Ensure adequate lighting. Avoid standing directly under a bulb that casts dark shadows under your eyes or nose. Natural light facing a window is often best.
- Positioning: Maintain a proper distance so your face fits within the circular frame displayed on the app screen. The circle will typically turn green when you are in the correct position.
- Attire: Men may wear a cap or turban, and women may wear a hijab, provided the chin and full face are clearly visible. Glasses should be removed to avoid glare.
Step 5: Review and Submit
Before you hit that final button, take a moment to review every detail. Even though you are primarily updating your photo, it is wise to double-check that your name, address, and CNIC number are displayed correctly.
Verify that the photo you just captured or uploaded is clearly visible and not cropped awkwardly. Once you are satisfied that everything looks professional and accurate, select your preferred delivery method (home delivery is the standard convenience here) and submit the application.
Step 6: Payment of Fee Online
After submission, the portal will direct you to the payment gateway. NADRA accepts several digital payment methods to make this seamless.
You can pay with a Bank card credit or debit card. In many cases, mobile wallets like Easypaisa or JazzCash are also integrated for easier local payments. Once the payment is processed, your application officially enters the processing stage.
Step 7: Wait for Processing and Delivery
Now, it’s just a waiting game. You’ll receive a notification via SMS or email when your updated card is printed and dispatched. You can also log back into the portal or app at any time to track the real-time status of your application.
Fees and Processing Time (Estimates)
It is important to budget both time and money for this update. While fees are subject to change, the table below provides an estimated breakdown of what you might expect for photo modifications or renewals.
| Card Type | Service Category | Estimated Fee* | Estimated Processing Time |
|---|---|---|---|
| CNIC / Smart-NIC | Normal | Approx. PKR 750 | 10-15 working days |
| CNIC / Smart-NIC | Urgent | Higher fee | 5-7 working days |
| Smart-NICOP (Overseas) | Normal | USD equivalent fees | 3-4 weeks |
| Smart-NICOP (Overseas) | Executive | Highest fee | 10-14 days |
*Note: These figures are approximate. Always verify the latest fee schedule on the official NADRA website before applying.
Troubleshooting Common Issues
Even with a digital system, hiccups can happen. Here is how to handle common roadblocks:
- Photo Rejected: If you receive a notification that your photo was rejected, do not panic. Review the background, lighting, and clarity conditions again. Re-take the photo in a better-lit environment against a plain white wall.
- Payment Failed: If your transaction fails, check that you have a stable internet connection. If you are overseas, ensure your bank allows online foreign transactions. Trying a different card or wallet often solves the issue.
- Delayed Processing: If the estimated time has passed, track your application online. If there is no update, you can contact the NADRA helpline or use their chat support for assistance.
Embracing Digital Convenience
The ability to update your CNIC photo online is a testament to how far digital governance has come in Pakistan. By following these steps and adhering strictly to the photo guidelines, you can save yourself hours of travel and waiting time.
Ready to get started? Download the Pak Identity app today and put your best face forward.