Renewing your national identity card used to mean waking up at dawn, standing in endless queues, and hoping the system didn’t go offline before your turn. Fortunately, the process for securing your National Database and Registration Authority (NADRA) documentation has evolved significantly.
Whether you need a standard Computerized National Identity Card (CNIC) or a National Identity Card for Overseas Pakistanis (NICOP), the days of uncertainty are largely behind us. With the introduction of the Pak-ID mobile app and dedicated online portals for international missions, you can now manage much of the process from the comfort of your home.
This guide walks you through the steps to book your appointment, apply for services, and ensure your visit to the center is smooth and successful.
The Modern Method: Using the Pak-ID App
The most efficient way to handle your identity documents is through the official Pak-ID mobile app. This digital solution streamlines the entire application lifecycle, from registration to booking your slot at a center.
Here is the step-by-step process to get started:
1. Download the App
First, you need to get the “Pak Identity” app on your smartphone. It is available for free on both the Google Play Store for Android users and the Apple App Store for iPhone users. Ensure you download the official app developed by NADRA to protect your personal data.
2. Register Your Account
Open the app and create a new account to get started. You will need to provide a few essential details, including your existing CNIC number, a valid mobile number, and an email address. You may need to verify these contact details via a code sent to your phone or email.
3. Select Your Service and Apply
After logging in, browse the available options. You can choose from various services such as renewing a CNIC, applying for a NICOP, or modifying data. Select the category that fits your needs and begin filling in the required application forms. The app is designed to guide you through each field, ensuring you don’t miss critical information.
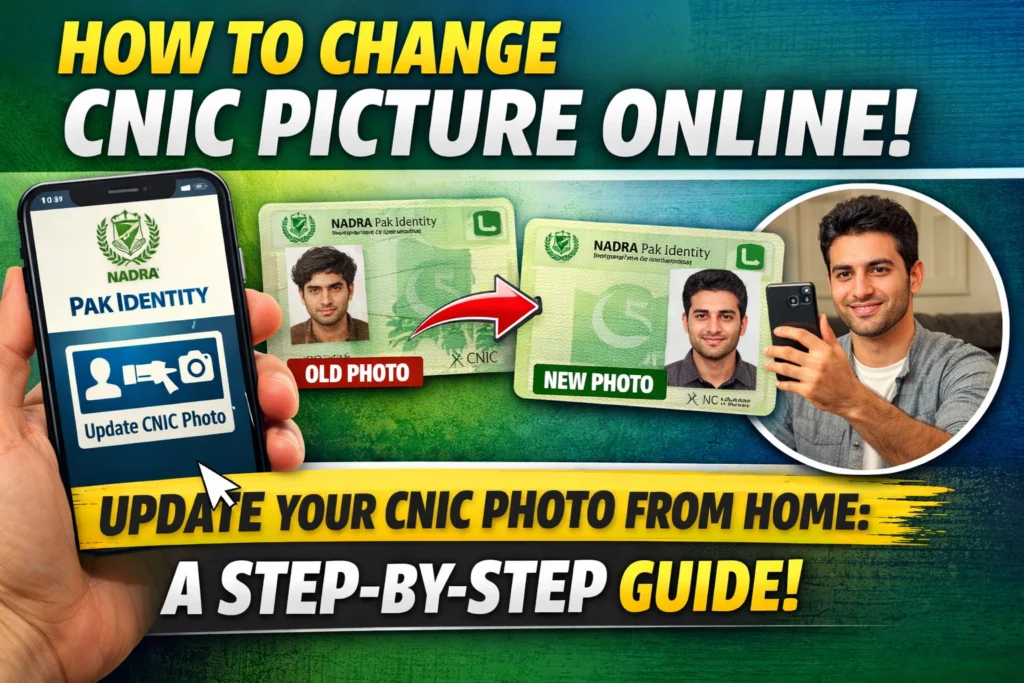
4. Upload Documents and Photo
Gone are the days of carrying photocopies everywhere. The app allows you to upload digital copies of your required documents directly from your phone. You will also need to upload a recent photograph that meets specific professional standards (white background, no glasses, clear face view).
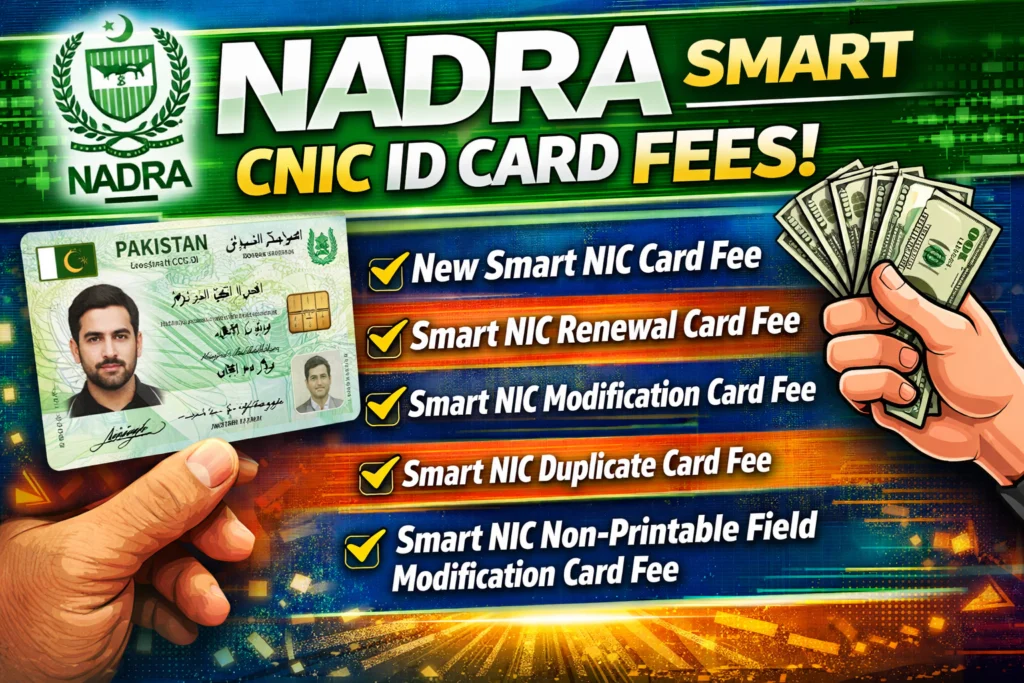
5. Pay the Fee Online
The application requires a fee, which varies depending on the service and urgency level you choose (Normal, Urgent, or Executive). You can pay this fee directly within the app using a credit or debit card. This saves you from having to visit a bank or carry cash to the center.
6. Book Your Slot
Once your application is submitted and paid for, use the app’s booking feature. Search for your nearest NADRA registration center and view the available time slots. Select a time that works for your schedule to confirm your appointment.
7. Visit the Center
On the day of your appointment, head to the center. Since you have already submitted your data and payment, this visit is primarily for biometric verification (fingerprints) and final submission.
For Overseas Applicants: Pakistani Missions
If you are living abroad, the process differs slightly. While the online Pak-Identity website is available for home delivery of cards, many expats still prefer or require in-person visits to an Embassy or Consulate.
Check Your Local Mission Website
Every Pakistani Embassy or Consulate operates its own schedule. You must visit the official website of the specific mission where you intend to apply. For example, the Consulate General of Pakistan in Manchester has a dedicated portal for appointments.
Booking Online
Most missions have moved away from walk-ins. You will likely need to find the “Book Appointment” section on their website.
- Locate the Portal: Navigate to the specific appointment URL provided by the consulate (e.g., appointments.pakistanconsulatemanchester.org).
- Select Service: Choose “NADRA” or “Passport” depending on your needs.
- Check Availability: Some consulates release new appointment slots at specific times. For instance, the Manchester Consulate opens appointments every Saturday at 10:00 AM for the upcoming week.
- Confirm: Enter your details and secure your slot.
Essential Tips for a Smooth Experience
Regardless of whether you are in Lahore or London, following these best practices will help avoid delays during your visit.
Arrive Early
Punctuality is crucial. It is recommended that you arrive at least 10 minutes before your scheduled time. This gives you a buffer to get through security and locate the correct counter without losing your slot.
Prepare Your Documents
Even though you may have uploaded documents via the app, you should bring your original documents with you. This includes your old CNIC, your parents’ CNIC copies (if applicable), and any other supporting documents relevant to your application type.
Need Help? Call the Helpline
If you encounter technical issues with the app or have specific questions about your eligibility, NADRA provides support channels.
- Mobile Users: Call 1777
- Landline/International: Call +92 51 111 786 100
Simplify Your Identity Management
Managing official documentation doesn’t have to be a stressful chore. By leveraging the Pak-ID app or utilizing the online booking portals provided by overseas missions, you can bypass the chaos of walk-in queues.
Take a few minutes today to download the app or check your local consulate’s website. securing your appointment in advance is the best way to ensure your identity documents are processed quickly and correctly.